My summer season job with MICA Guides wrapped up September 10 which gave me just enough time to do an overnight backpacking trip in Denali National Park before the park service stopped running their buses on September 13. My plan was to rent a car from Anchorage, drive up to Denali on September 11, pick up a permit and camp at Riley Creek Campground near the park entrance. Then I would take a Camper Bus into the park on September 12, camp out in the backcountry, and hike out and catch a bus back to the park entrance on September 13… the last day buses were running, so no being over ambitious and missing the bus!
A few unique things about backpacking in Denali National Park:
- Private vehicles can only drive the first 15 miles of the 92 mile long Denali Park Road, the only road in the park.
- Park busses only run from late-May to early-September. (Basically, when snow is not expected.)
- Backcountry permits are only issued in person at the Visitors Center from 8 AM the day before the start of your trip, so you can’t really make a detailed hiking plan before you get there and you will want to get to the park as early as possible the day before your trip to maximize your permit choices.
- There are no established trails, your permit is for a Unit or Units that you have a certain amount of time to move through. Based on the quick search I did, there isn’t much information about suggested backpacking routes in Denali NP on the Internet besides climbing Mt. Eielson. But I think that’s the way it’s supposed to be — a true wilderness experience!
- From the whiteboard behind the permit desk at the Visitors Center, it looked like for some Units the maximum number of people who can camp per night is 4 people, so don’t plan to backpack in a large group.
- No trails means assuming you will be hiking at a speed of no more than 1 mile an hour. You don’t know what the vegetation will be like, if the drainages will be swampy, what stream crossings will look like, if a scree slope will be traversable.
In summary, it’s an intimidating mix of needing to plan in advance and then not being able to really plan much in advance. Luckily, I had learned quite a bit about hiking in Alaska — following moose trails, alder bashing, finding campsites, bear awareness — over the course of the summer and felt like I was prepared with realistic expectations. Here’s a good read if you are looking for more information about backpacking in Denali.
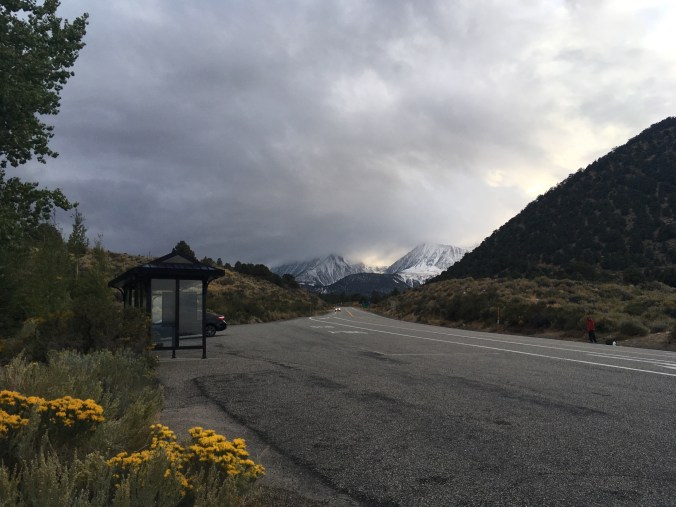
The drive to Denali National Park
It had started to get cold and rainy in at the end of August, such that I had started to long for being indoors and having insulation (I lived in a tent all summer), but from Labor Day weekend Alaska was enjoying an Indian summer which brought us back to the warm sunny weather of early July and camping was once again quite pleasant. Parks Highway offered impressive views of Denali (The Mountain) on my drive up from Anchorage, but I didn’t stop to take any photos because I was trying to get to the park in time to pick up a permit. (The Internet said that permit pick up was until 3:30 pm, luckily for me the desk was actually open until 5 pm.) The scale of the scenery on Parks Highway was much bigger than Glenn Highway where I’d spent the summer. The mountains were striped rust red tundra and spruce green with the gold of aspen and alder lower down, their black rocky peaks dramatic against a bright blue sky. It was a bit confusing when I got to Denali National Park. I got a camper bus ticket at the Wilderness Access Center, then had to go to the Visitor’s Center to get my backcountry permit and then Riley Creek Mercantile to get a walk-in tent site. I was glad I had a rental car to run all these administrative errands; I had considered taking the train.
Picking up my permit
The process of getting a backcountry permit worked like this. There is a whiteboard listing Unit availability above the permit desk. You get a form to fill out from the permit desk and the ranger sends you to flip through binders that describe the different Units. I had done a bit of poking around on the park website Unit map so I had a few Units written down as candidates for an easy overnight backpack. Unit 12 Sunrise and Sunset Glaciers on my list was available, so I snapped the last spot up. Of course, after hiking on a glacier almost every day for 3 and a half months, the thing I wanted to do most in Alaska was see more glaciers! Then I watched the required leave-no-trace, stream crossing, bear awareness videos, purchased a USGS quad map of my Unit to study and borrowed a bear canister.
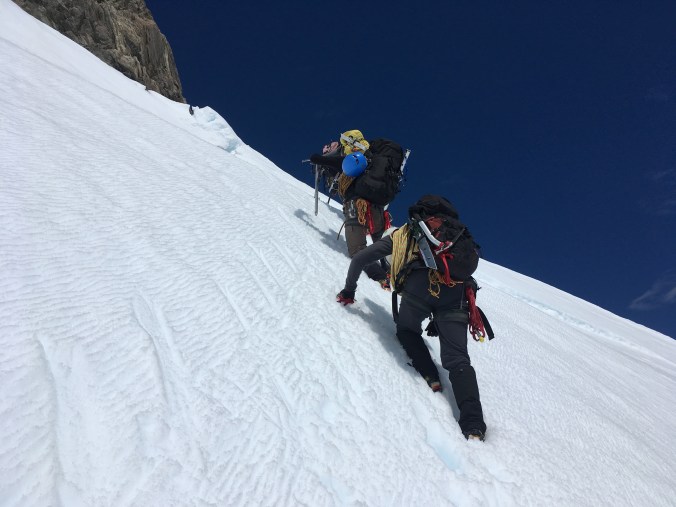
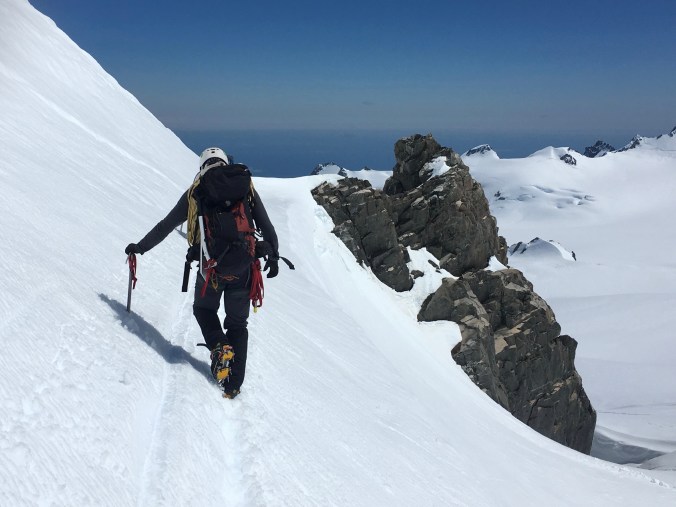
Backpacking in Denali
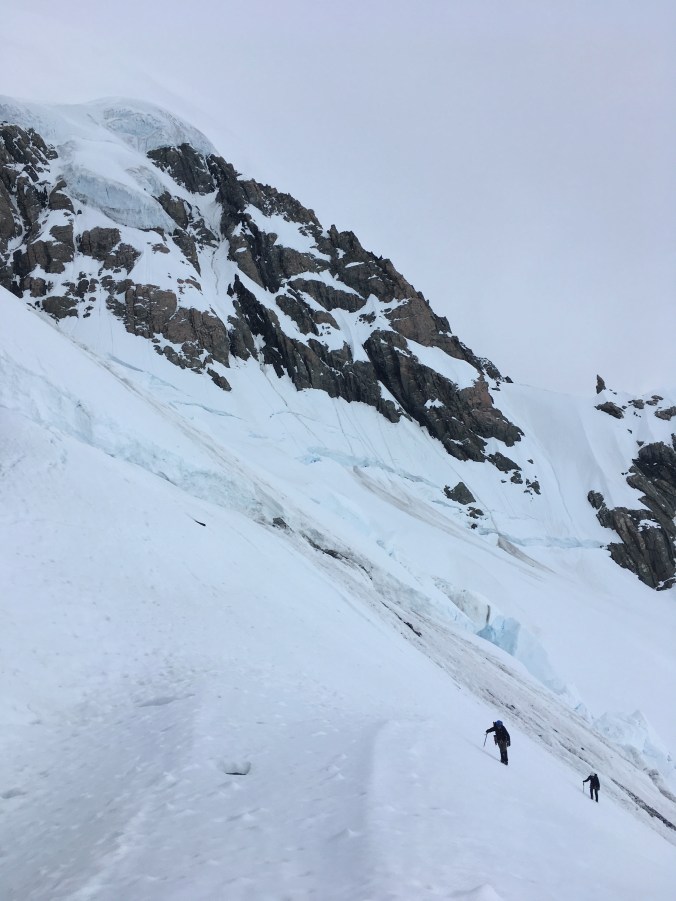
The next morning at about 7 am, I got on the earliest camper bus for the 4 hour ride to Eielson Visitor Center to begin my hike. We saw a couple of moose and a mama bear and two cubs from the bus. The bus driver would stop to allow everyone to capture the wildlife with their gigantic telephoto lenses. It was cloudy, overcast and windy. When I arrived at Eielson Visitor Center, Denali was hidden behind a shroud of clouds and I nixed the possibility of climbing Mt. Eielson as it was covered with a dusting of snow at the top.

Perfect conditions for hiking!
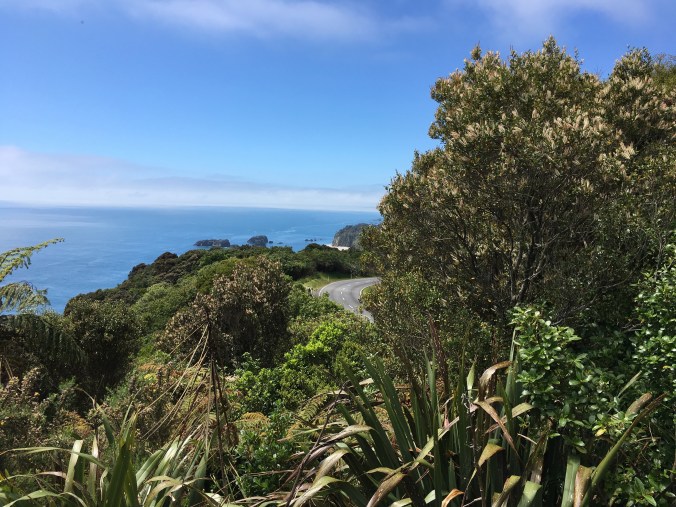
I hiked down to the end of the developed trail from the Eielson Visitor Center, and gingerly picked a crossing across Gorge Creek. First real stream crossing ever completed, my feet were soaked but my merino wool socks squished out quickly and stayed warm. I walked along the gravel bar of Thoroughfare River as recommended by the ranger who issued my permit, but got bored and decided to punch up into some tundra to see what I could see. After a short bash through some small trees and wading through shin deep shrubbery, I started to recognize the plant life I wanted to walk on. The red stuff, mostly blueberries, was short, firm and easy to walk on, so I let the vegetation direct my path. Greener vegetation indicated drainages and I learned to follow the moose paths across those parts to avoid ending up in boggy marsh.

Beautiful tarn
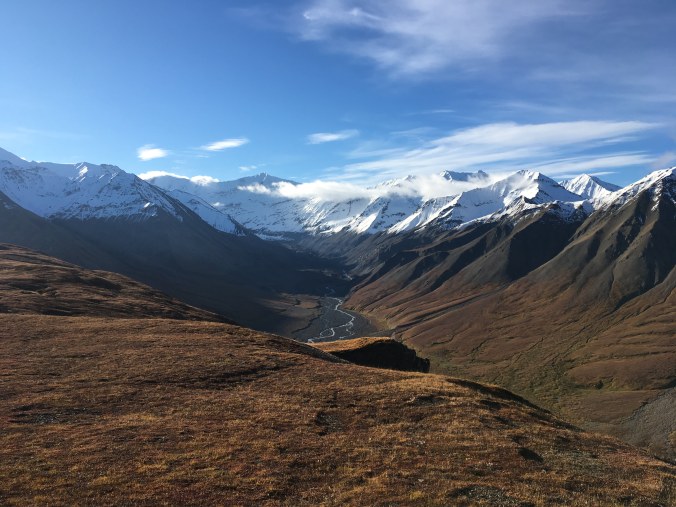
I didn’t have much of a plan except to camp in the valley along Sunrise Creek, since that was the closest area I was allowed to camp. The problem with Unit 12 is that most of it is visible from the Denali Park Road and you have to camp out of sight of the road. That also makes it a not so wilderness-y experience, but easy access to the road and Eielson Visitor Center made it a fool-proof, if a bit boring choice, for my solo end-of-season backpack.
I came to a small creek before Sunrise Creek where I found I had to backtrack and lose some elevation. Being stubborn I tried to climb higher across a scree slope but I kept falling so I ended up scree skiing down into the gorge and rock hopping across to Sunrise Creek.
Then I tried to walk as far as I could up Sunrise Creek. I was hiking up the north bank when the gravel bar virtually disappeared. Making the silly decision to avoid getting my feet wet, I was attempting to boulder across a short section of the gorge wall when a cinder block sized rock I was hanging on to detached from the wall and fell into my lap. I was lucky to only suffer a bruised thigh. So after a cold crossing, I gave up on following the river and climbed up on the south bank of Sunrise Creek.
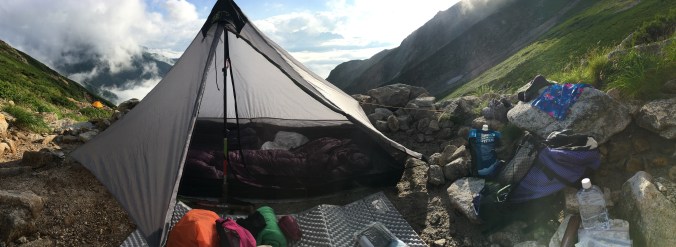
It was only 4:30 PM, but suddenly, I was completely exhausted. I had only hiked about 6 miles but I think the fatigue from an entire summer of physical work and little time off caught up with me. My plan to hike up to the bottom of Sunrise Glacier was abandoned for the more urgent need to find a place to lie down. I set up my little tent on the bench below Bald Peak, and sheltered from the katabatic winds, took a nap for 1.5 hours. Somewhat recovered, I made dinner of Idahoan mashed potatoes and a foil packet of lemon pepper tuna and lay back down again reading Into the Wild (Chris McCandless’ ill-fated Alaska adventure having happened not far away) in my tent until the valley came ablaze at sunset around 8:20 PM. I was a less exciting expedition than I had hoped, but I guess the luxury of solo hiking is having the freedom to do things like pull in early to take a nap.

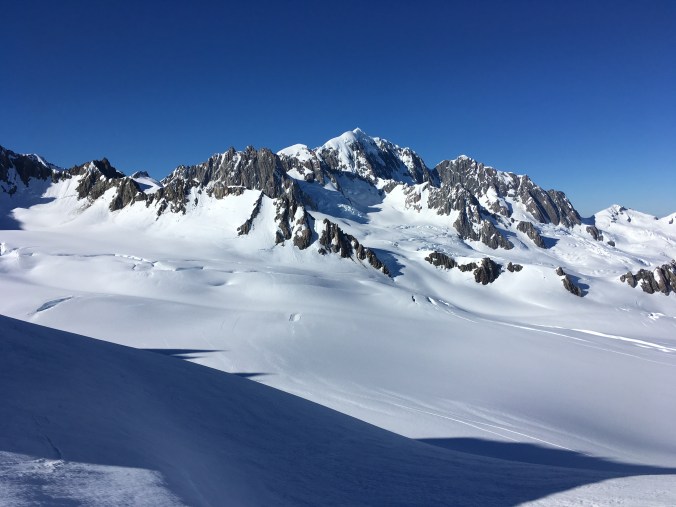
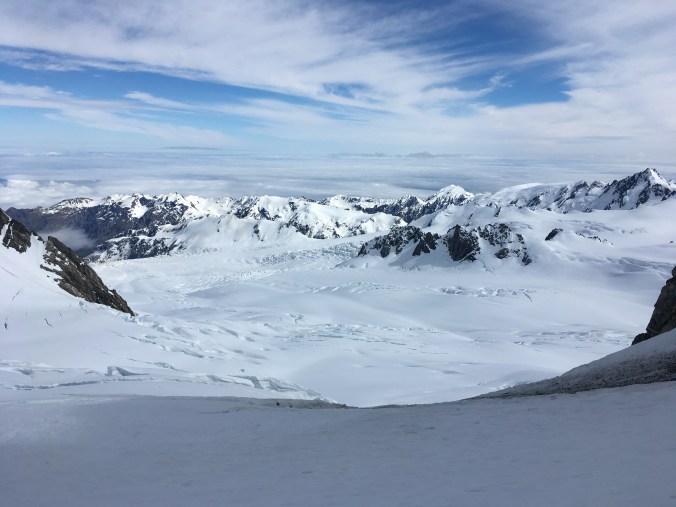
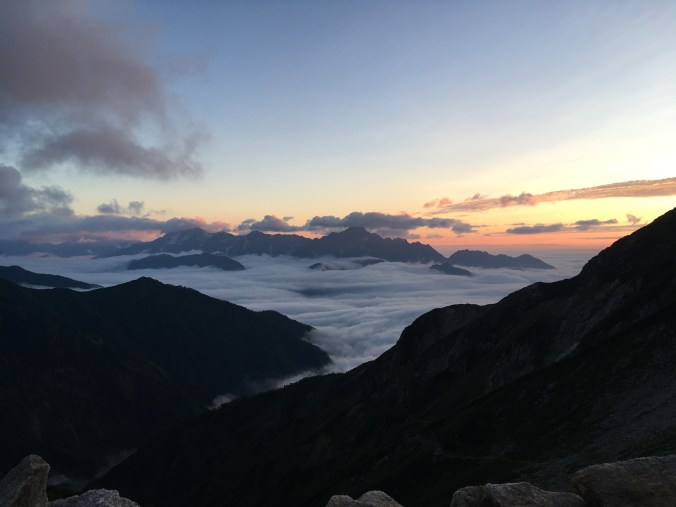
My campsite view of Sunrise Glacier
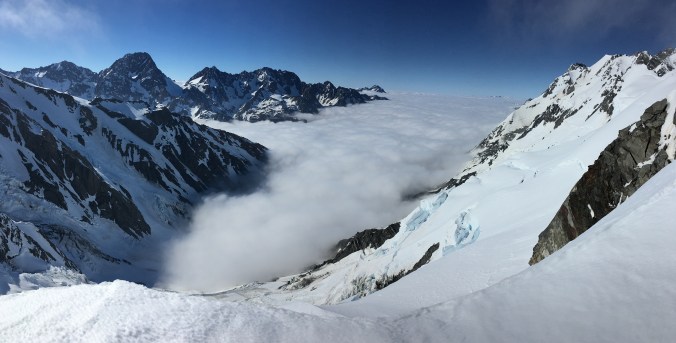
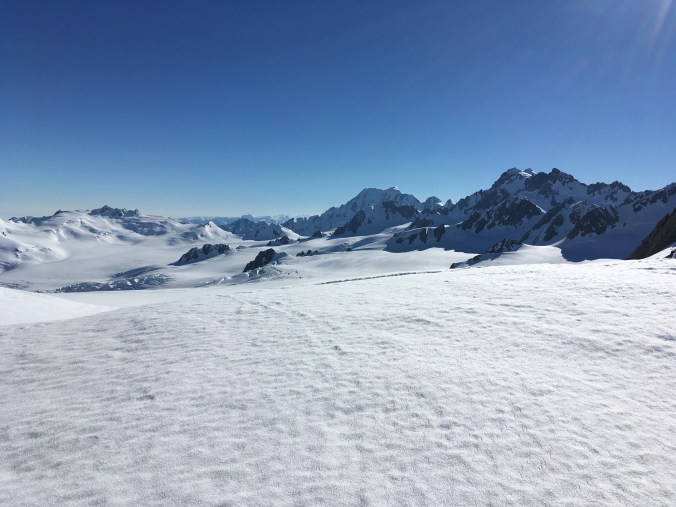
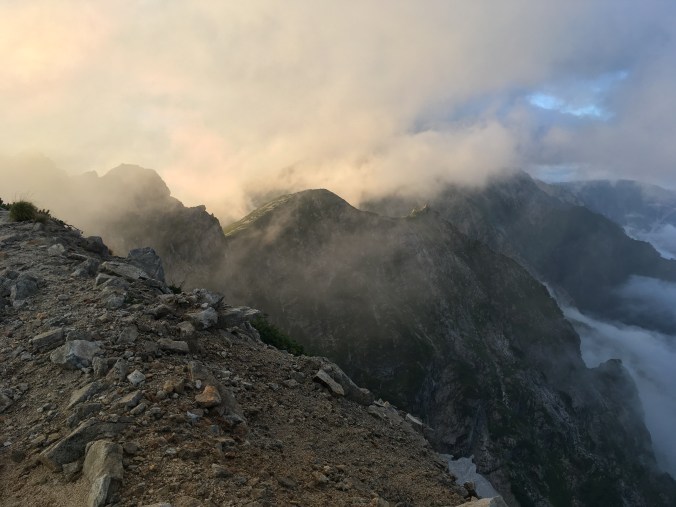
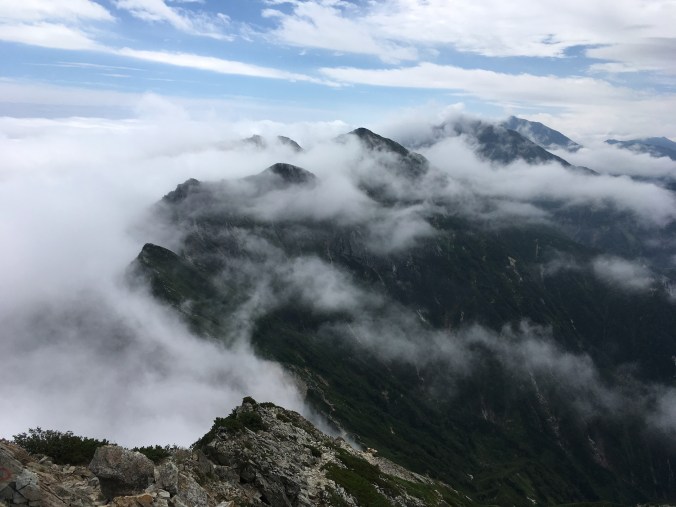
In the morning, I left my tent up to dry and set off to climb the saddle under Bald Peak and up a little knoll in front of it. The cloud cover from yesterday burned off over the course of the morning, revealing dramatic white peaks framing Sunset Glacier. As I got to the precipice, the peak of Denali poked up over the ridge behind Mt. Eielson. A pleasant surprise! I’d been hopeful but not at all certain I’d get a Denali view from there.
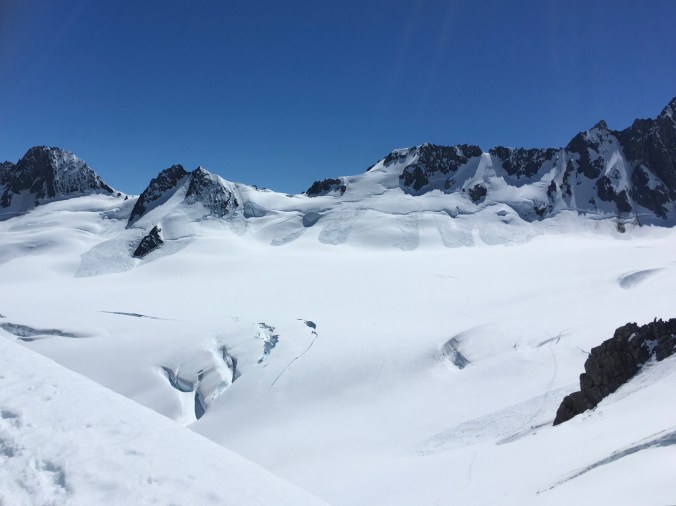
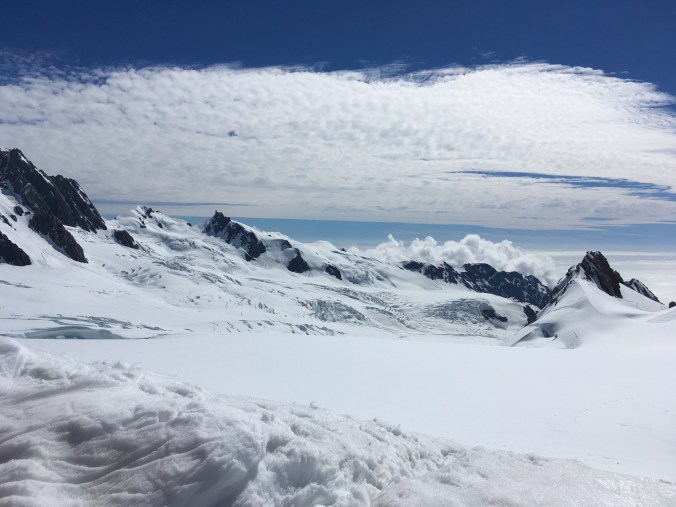
Sunset Glacier
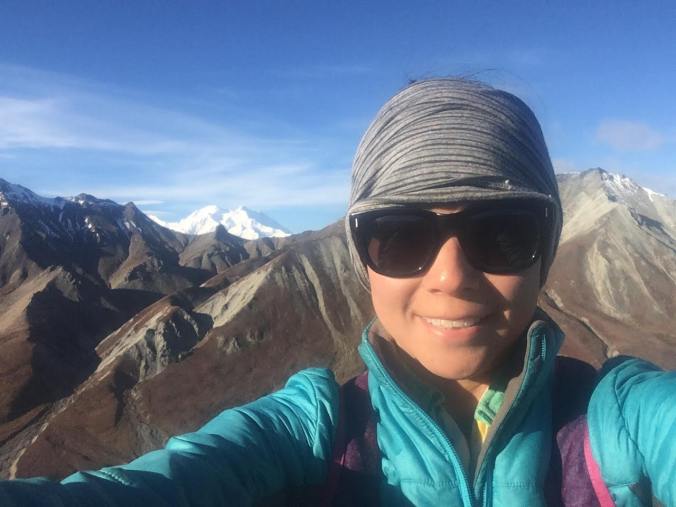
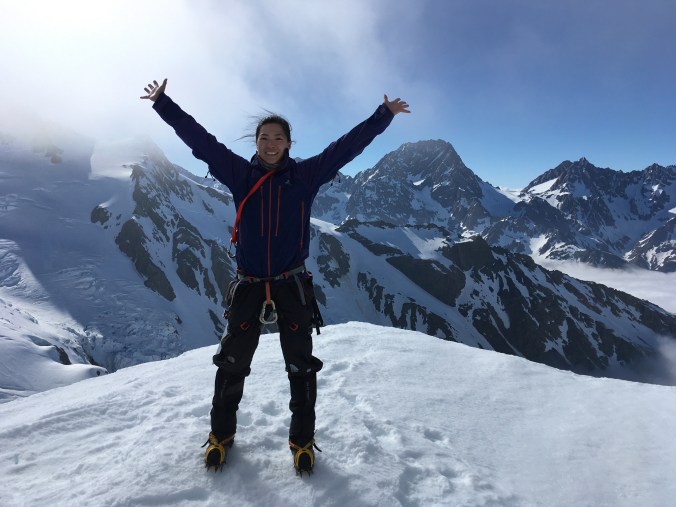
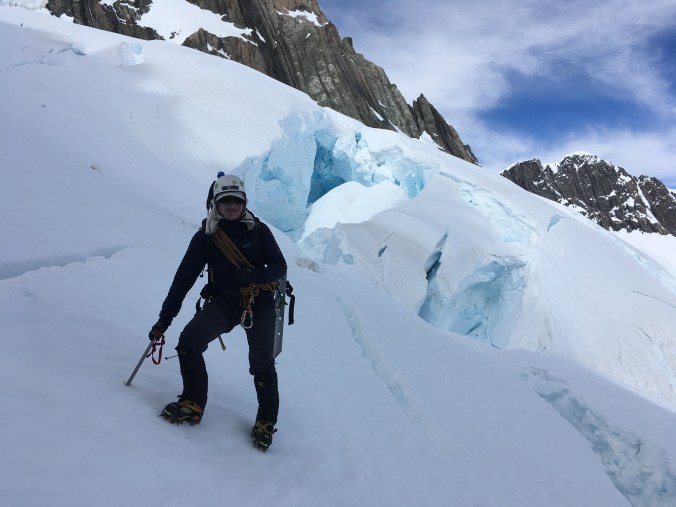
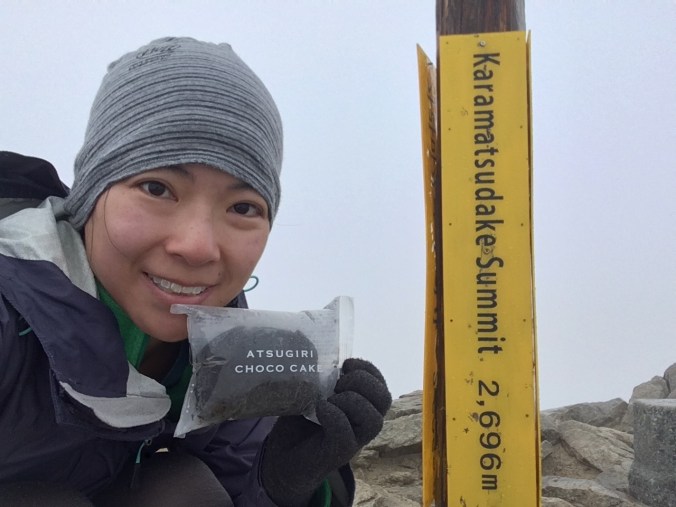
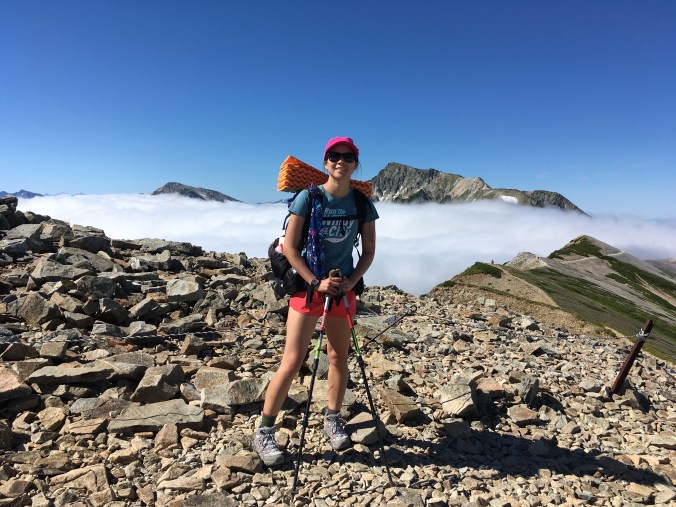
Obligatory Denali selfie
I descended back to my camp, packed up and had an easy walk down the bench and back down to the gravel bar. I planned to simply follow the gravel bar along Thoroughfare River back to Eielson Visitor Center, but the stream crossings got intimidating and I ended up tussock hopping around a tarn and retracing part of my route across the blueberry fields from the previous day. There were still a lot of blueberries good to eat, but thankfully I didn’t see any bears! I arrived back at Eielson Visitor Center by 2:30 PM and first things first, took off my wet boots and socks and put on my Crocs. Yay, camp shoes! I put my name on the bus list and watched a video about climbing Denali before getting put on a bus for the 4 hour ride back to the park entrance.

Thoroughfare River
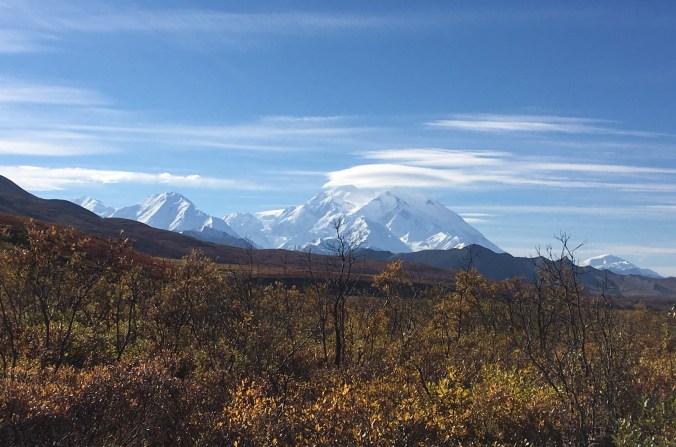
Denali with lenticular cloud
Post-hike
It was late evening by the time I got back to my car and I was feeling strangely not stoked about more camping and hiking adventures. I think I was realizing my body just wanted to recover from the summer. I sat in the parking lot feeling a bit defeated and found an AirBnb in Palmer and booked it for the next night. Too tired to make any other plans, I camped at Riley Creek Campground again. I had slept like a log on the tundra, but seemed to have trouble getting comfortable that night. When I got up in the morning to use the bathroom, I noticed that the tenugui I had hung on the corner of the picnic table at my campsite had frozen into a stiff origami shape. The plastic collapsible water bottle I had left on the picnic table was crunchy with ice crystallized across the inside. Ah, that’s why I had trouble sleeping. It was too cold to wait for hot water to boil and percolate my own coffee, so I quickly packed up my things and went to Morino Grill next to the Visitors Center to restore the feeling to my fingers with a cup of corporate-y Starbucks latte. My backpacking night had actually been very comfortable, and it had definitely not been close to freezing cold, even though it was at higher elevation. I had been super lucky with the timing of my trip! As my fingers regained feeling, I felt pretty good about my decision to spend my last two nights in Alaska indoors.
Epilogue: My AirBnb host turned out to be a super cool fiber and ceramics artist, I had the most comfortable stay, and the house was walking distance from two craft beer breweries (Arkose and Bleeding Heart)!